Published on 2024-08-22
Tolerance in injection molding is the key to the quality of the final product. To stay within proper dimensions and avoid defects, we need to consider many factors, such as material selections, product design, or even tooling in the very early stage.
General injection molding tolerances fall within ±0.1mm. However, for products requiring high precision, such as those used in medical facilities, tolerances can be as tight as ±0.005mm. The tighter the tolerances are, the more expensive the overall cost of manufacturing due to the complexity of tooling design and process control.
In this article, we will look closely at what influences the margins of molded parts and the common tolerances that happen in practical scenarios. In the end, we’ll also provide useful tips to help you design your products to reduce possible impact.
Table of Contents
Factors Influencing Injection Molding Tolerances
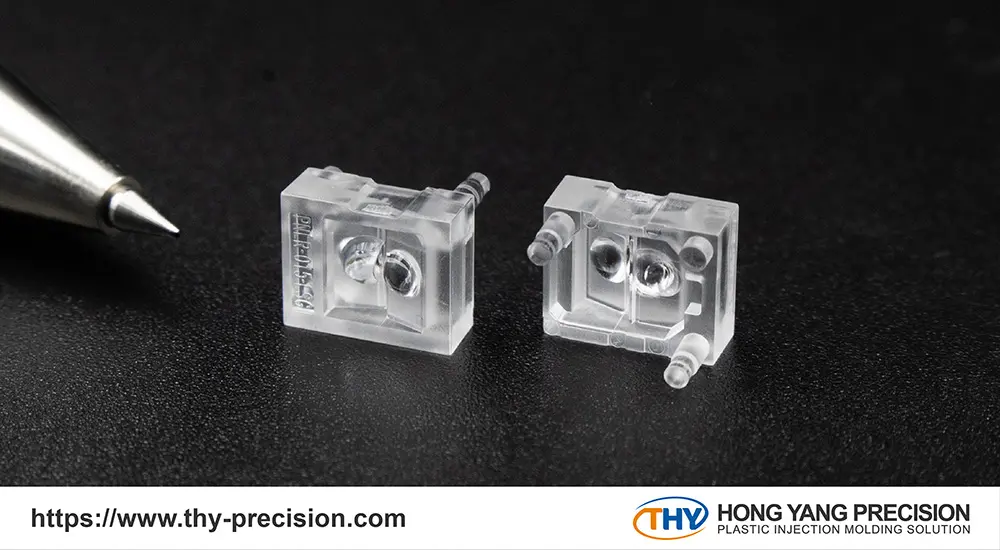
Three key factors, material shrinkage, warpage, and thermal expansion, significantly impact the tolerance of injection molding.
● Material shrinkage
The shrinkage rate of the materials matters. As the molded part cools down, its dimensions can change. It’s advised to increase the dimensions of the part during the design process so that after cooling, it shrinks to the desired size.
The shrinkage rate can be statistically calculated using the following equation:
Shrinkage Rate = Lc-Lp/Lp x 100%
Note:
- Lc represents the length of the cavity
- Lp represents the length of the part after cooling
The table below shows the shrinkage rates of 10 commonly used materials in injection molding.
| Material | Shrinkage Rate (%) |
|---|---|
| Polypropylene (PP) | 1.5 |
| Polycarbonate (PC) | 0.6 |
| Acrylonitrile Butadiene Styrene (ABS) | 0.6 |
| Polyethylene (PE) | 0.2 |
| Polymethyl Methacrylate (PMMA) | 0.2 |
| Polystyrene (PS) | 0.5 |
| Liquid Crystal Polymer (LCP) | 0.1 |
| Polyoxymethylene (POM) | 1.8 |
| Polyamide/Nylon (PA) | 0.3-1.5 |
| Polybutylene terephthalate (PBT) | 0.5 |
To learn more about commonly used resins for injection molding, please refer to article:
10 Plastic Resins for Injection Molding: A Guide to Types & Uses
● Warpage
As the resin cools in the mold, all parts undergo shrinkage. Parts with uniform wall thickness shrink evenly, helping to prevent warping and sink marks. However, when wall thickness varies, different areas will cool and shrink at different rates, increasing the likelihood of warpage in the part design. If producing a non-uniform wall is necessary, the thickness should not exceed the recommended values.
For the recommended wall thickness for each material, please refer to the article:
Essential Design Guidelines for Precision Injection Molding.
● Thermal expansion
Temperature is a critical factor in the design phase, as maintaining tight tolerances with resins can be challenging due to different thermal expansion rates.
Although plastic parts may hold precise dimensions in controlled manufacturing processes, they can lose accuracy over time, especially when the end parts are used in real-world temperatures. Design engineers should carefully select the appropriate injection molding material in advance. For example, PEI exhibits better thermal resistance compared to PP or PC.
Common Types of Tolerances in Injection Molding
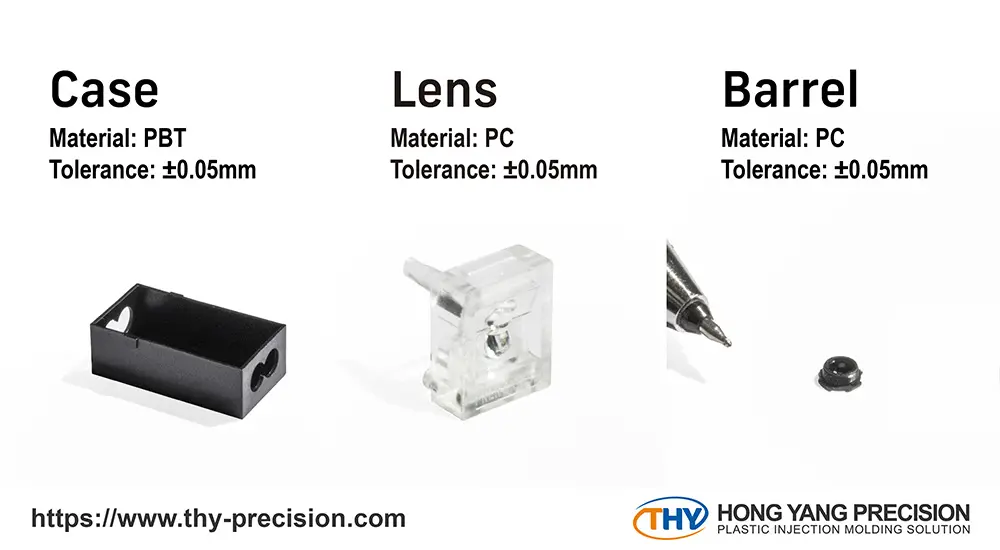
In addition to the tolerance issues caused by material selection, there are three other types of tolerances in injection molding that need to be considered during the design stage.
● Dimensional tolerances
Dimensional tolerances refer to the numerical values assigned to a product’s X, Y, and Z dimensions. Key technical terms describing aspects of a component’s dimensional tolerance include nominal size, lower deviation, and upper deviation. For example, as the size of a part increases, there is typically more shrinkage during the cooling process, which can more easily result in an upper deviation.
● Hole diameter and depth tolerances
If your molded product includes a hole, it’s important to also consider the tolerances for the hole’s diameter and depth during the design process.
Larger holes tend to shrink more during cooling, which requires a larger tolerance range to account for this shrinkage. For blind holes (holes that do not go all the way through the part), deeper holes increase the chance of deflection if the plastic is injected at high pressure. The design of the mold must accommodate this to avoid dimensional inaccuracies.
● Straightness and flatness tolerances
Straightness refers to how much a line on the surface of a part deviates from being perfectly straight. If the line curves instead of being straight, the part has issues with straightness. Flatness is another similar idea but applies to surfaces rather than lines. It refers to the degree to which a flat surface deviates from being perfectly even.
Design and Tooling Considerations to Mitigate Tolerance
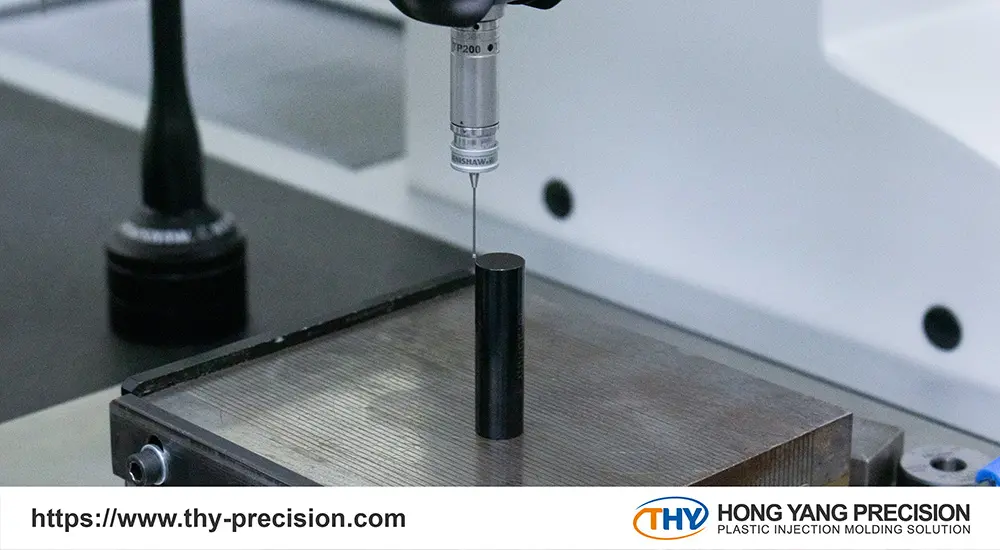
Here are some tips to help you minimize tolerance and improve the quality of the finished part.
● Design Practices
When designing a part, maintaining uniform wall thickness and minimizing complexity are key strategies for achieving tight tolerances in the finished product. Uniform wall thickness helps prevent uneven shrinkage, while a simplified geometric design reduces the risk of unexpected dimensional distortion.
● Tooling Impact
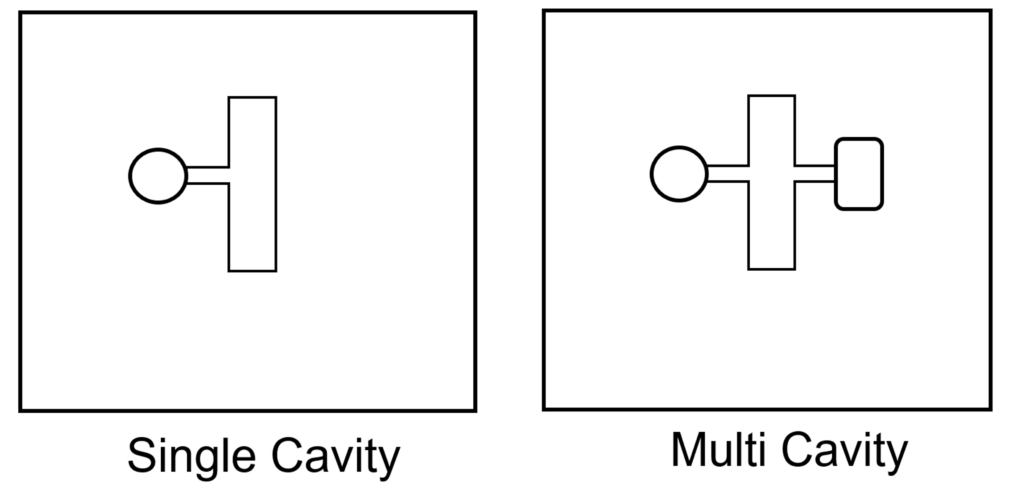
Tolerances are influenced by the design of the injection mold and the number of cavities. If the mold design fails to ensure stable and consistent cooling, it can lead to increased shrinkage and variability in tolerances. As a result, the tooling of Injection molding plays a critical role in producing high-quality products.
For example, controlling the tolerance of a single cavity is relatively easy; however, when dealing with multiple cavities, the difficulty of maintaining consistent injection molding tolerances increases.
● Process Control
Controlling tolerances in plastic injection molding involves not only design but also process control. During injection molding, factors such as cavity temperature, fill rates, and pressure must be carefully managed. Once the process is successfully controlled, the finished parts should be validated over a period to prevent unexpected defects.
For more information on addressing defects, please refer to the Essential Design Guidelines for Precision Injection Molding.
Conclusion
Tolerance in injection molding is vital for product quality, typically around ±0.1mm, with tighter tolerances for high-precision molded parts. Key factors like material shrinkage, warpage, and thermal expansion must be managed.
THY is a leading manufacturer of medical-grade and optical parts, the injection tolerance capability could reach ±0.001 mm. We also provide high-grade ISO 8 cleanrooms to meet our clients’ specific contamination prevention needs. Additionally, we proudly adhere to ISO 9001 and ISO 13485 standards, ensuring we can produce even the most demanding parts for our clients.

Should you have any inquiries or face any design challenges, please do not hesitate to reach out to us.
